
A Smart Link gives you one address for a campaign. You choose where visitors should go. Start with a single website destination; you can add more routes later.
Before you start
Section titled “Before you start”You need the address of a website you want to open. After signing in for the first time, TapBaton guides you through naming your Organization and Project, then creating your first link. An Organization holds your team and billing; a Project groups the links, domains, and reports for one website, brand, or client.
The guided setup asks for your destination, a name for the link, and its address. It saves a draft with the destination already in Default Flow. You can then jump to Preview the route below. Nothing is published during setup.
You can leave setup through the account menu. Once you have a Project, Continue later opens its overview. Get started or Continue setup on the overview lets you return; saved Organizations, Projects, and links are reused.
Joining an existing team? Ask the person who manages the workspace for Project access. You do not need to create a separate Organization.
For later links, follow the steps below.
1. Create the link
Section titled “1. Create the link”- Select your Project in the console.
- Open Smart Links.
- Select New Smart Link.
- Give it a name you will recognize, such as “September newsletter”. TapBaton suggests an address based on the name; you can edit that address before creating the link.
- Select Create Smart Link.
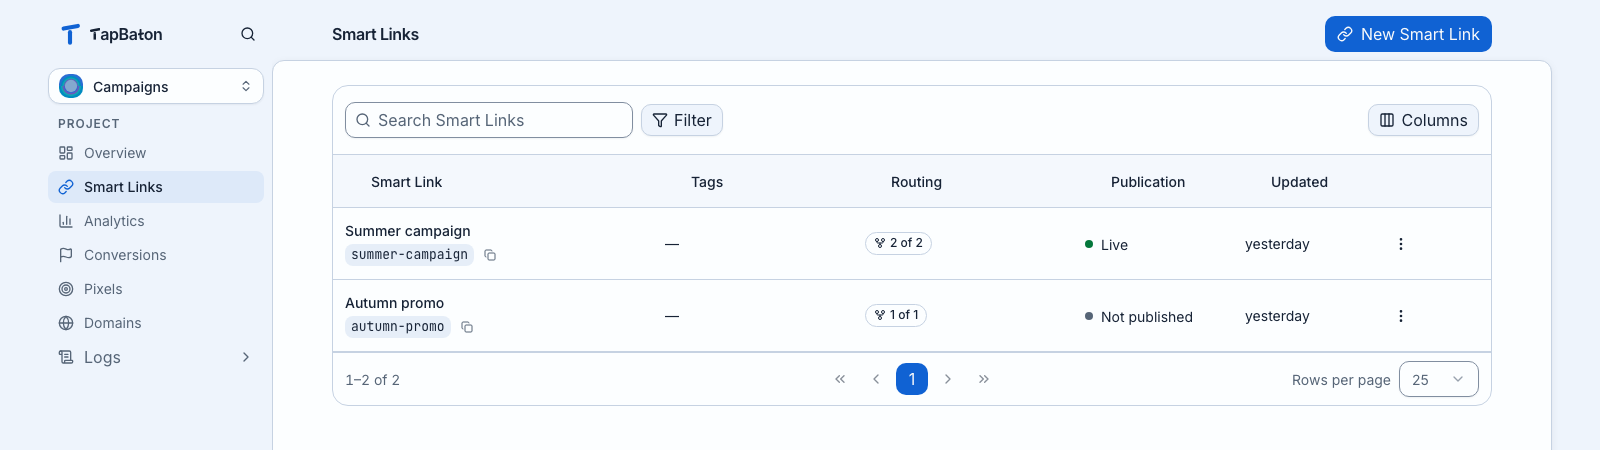
Example workspace shown in the current TapBaton interface.
The editor opens with a Default Flow. This is the route for visitors who do not match any more specific Flow.
2. Choose where visitors go
Section titled “2. Choose where visitors go”- Open Default Flow.
- Under What should open?, choose Open a website.
- Enter your full website address under Website address.
- Leave the other settings as they are for this first link.
Use a full https:// address. A Flow tells TapBaton where to send a visitor; it does not create the destination page for you.
3. Preview the route
Section titled “3. Preview the route”Select Test route and run one of the example visitors. Check the chosen Flow and destination. If the result is wrong, return to the Flow and change its settings.
Test route is a preview of your draft. It does not open the destination on a real phone or prove how an app will handle the handoff. After publishing, open your public link on the devices and in the apps you care about.
4. Save and publish
Section titled “4. Save and publish”- Select Save draft if you have unsaved changes.
- Select Publish and review the confirmation.
- Copy the public URL from the top of the editor or from the Smart Links list.
A saved draft is only for your team. Publishing makes that version the route for new visitors. If you edit the link later, publish again to apply the new route. See how publishing works.
5. Check a real visit
Section titled “5. Check a real visit”Open the public URL yourself. Then go to Logs → Clicks and look for the visit. If you also send conversion events, check Logs → Conversions separately. A click and a conversion answer different questions.
If the link uses a development address, you can add your own domain when that option is available in your workspace.